This is a crochet pattern for my easy beginner-friendly baby teething ring. Find out what inspired me to design this pattern, what yarn did I choose, and learn all the tricks on how to create a perfect baby teething ring.
You can find the free instruction below. If you want to support my work or need more sizes, purchase the ad-free, printable PDF here.
Please Note: This teething ring is made of 100% cotton and wood. The teething ring is not made in one piece, therefore please make sure the parts of your teething ring are carefully attached to the main part (ring) and are part of the toy at all times. Smaller parts of the toy could be a choking hazard for small babies and kids if they are not attached properly. The teething ring should be washed and cleaned.

Sore gums, red-hot cheeks and chewing more than usual are just a few signs of teething. Many parents look forward to their child developing their first teeth, but teething can cause a lot of pain and discomfort.
Safe and fun way to help your child go through the teething phase are teething rings. And they are super easy to make too.

Today I am going to show you how to make a very simple, easy to hold and an inexpensive crochet baby teething ring. It’s beginner friendly and can be made from start to finish in just two hours or even less, for more skilled crocheters.
Video Tutorial
Materials

Here is what you will need for this project (These links are affiliate links. You don’t have to buy the products from here but I link them to make it easy for you guys to find them. Purchasing through these links earns me a small commission at no extra cost to you. So if you decide to purchase through them, know that you are awesome! Thanks! 🙂)
- YARN: For this pattern, I was using some 100% Aran weight yarn from Paintbox Yarns Collection. It’s cotton, the strand is nicely twisted around, so it’s super easy to work with and it comes in a great variety of colors. (Shop for yarn HERE!) I used red and beige. I would also recommend Rico Creative Cotton (HERE!). It’s a little bit less expensive version of beautiful colorful cotton yarn, the color pallet is smaller than with Paintbox yarns, but you can still find all the basic colors you might need for your projects.
- CROCHET HOOK: I was using a 3.5 mm or E/4 simple aluminum crochet hook with a plastic handle (HERE!).
- OTHER: And of course a yarn needle (HERE!), stitch markers (HERE!), a pair of scissors (HERE!), a wooden ring, and a small amount of synthetic stuffing (HERE!).
* I bought my wooden rings on Aliexpress. You can find the shop here. They sell supply for baby teething toys; rings, beads, DIY kits, and much more. But please check the quality of the products you receive before you gift the toy to a child or start selling them in your online stores!
Gauge
GAUGE: Work 10 sts and 10 rows in sc measure 5 x 5 cm (2 x 2 inch).
When you find a new crochet project that you would like to make, you usually want to start ASP. We all do. But please take some time and check the gauge. It might save your project!
Checking the gauge is a crucial step in the process of making a new crochet/knit garment. It will help you achieve the right size of your finish item. Learn how to check your gauge here.
Stitches and Abbreviations
- st/sts – stitch/stitches
- ch – chain (VIDEO)
- sc – single crochet (VIDEO)
- sc2tog – single crochet two together
- MR – magic ring
Pattern Notes
- How to read a pattern: You can learn how to read a crochet pattern here.
- The pattern is written in US crochet terms.
- Skill level: Easy/Medium
- The wooden ring should be nicely polished, and not varnished or colored.
- The size of the wooden ring used in this tutorial is 7 cm in diameter.
- Please clean the toy properly before you give it to a child to play with it.
- Make sure all the stitches are tight and even. When you work on crochet balls pull each stitch tight, to prevent stuffing coming out of the balls.
- Please make sure you attach crochet balls to the wooden ring properly. Choking hazard!
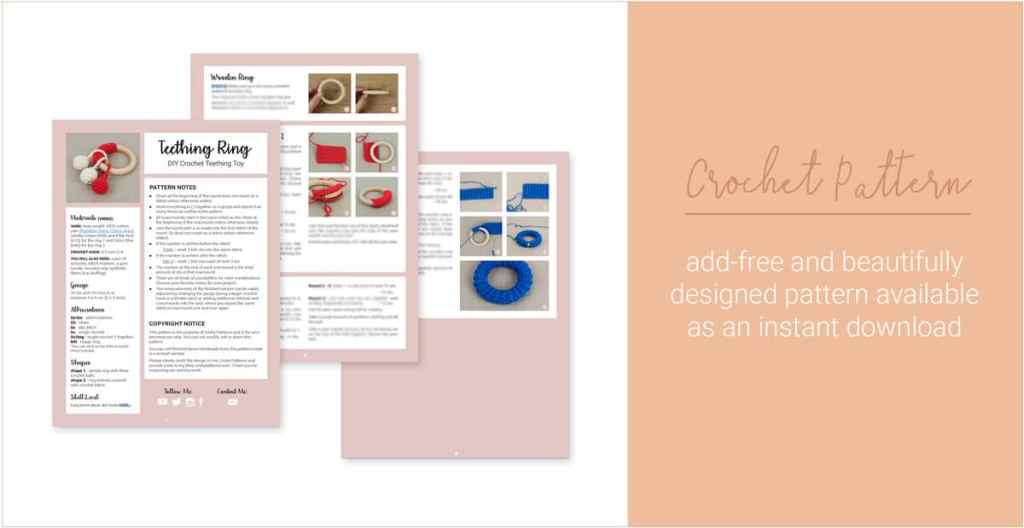
PDF Pattern
The PDF crochet pattern is a great solution for those who prefer to work offline, need additional sizes of the pattern, or just want to support my work. This beautifully designed PDF pattern can be found in shops on Etsy, Ravelry, and Love Crafts.
* This PDF instructions include one additional shape. The fee compensates for the ad revenue I would make if you had to visit the site to access the instructions.
Instructions
Crochet Baby Teething Ring
The instructions are written in a few simple steps:
- main part (ring)
- balls
- and assembling.
Please, read the instructions carefully. Don’t skip any parts of the pattern and make sure you are not accidentally losing or adding additional stitches to the pattern. That might affect the final look of your design.
1. Main Part – The Ring
I’ve started with the main part which is the piece of fabric attached to the wooden ring. For that, I was using a small amount of red yarn and a 3.5 mm crochet hook. The first step is to make a foundation chain. Mine is 13 chains long.
If you would like to cover a larger section of the wooden ring than I did here, add additional chains to your foundation chain to make the base of your crochet fabric bigger.
Skip the first chain, the chain that is on your crochet hook, and start in the 2nd chain from your crochet hook.
Work in rounds. After each round ch 1 (to give the row the proper hight), turn and start in the first one.
Row 1: Work 1 sc into each of the next 12 chains or as many chains you have, all the way across the row.
You can even measure the ring; how much yarn would you need to go all the way around and cover the ring entirely.
Row 2: Ch 1. Turn. Work 1 sc into each of the next 12 sts.
From now on is very simple. Repeat row 2 as many times as you need to cover the ring. So to be able to join both ends of the fabric together. In my case, that would be 5 more times. But if you have a wooden ring that is larger than mine or even smaller, you will have to adopt the number of rows to achieve the desired length of the fabric. Just stretch it around the ring and measure how much you need, and add rows as you go.

Leave a long tail, use a yarn needle, place the fabric on the wooden ring, and sew both ends of the fabric together.
Make sure the fabric is placed on the ring tight enough to prevent it from sliding up and down along the ring.
Cut all the ends, wave them in and the main part is now done.
I also pushed the seam on the inner side of the ring, just so the fabric on the outer side looks nice and even. It probably won’t stay there for long, but it can be a nice touch when you display the teething ring in your store, when you taking photos or when you put them into the box and send them away to their new homes.
2. Three Crochet Balls
The next step is to create 3 small crochet balls. Mine is filled with a small amount of synthetic stuffing. You can also use yarn ends, leftovers from some of your previous projects. I would not recommend using wooden balls, beads that you can use for teething Munny necklace parts because the child will play with the teething ring, the balls will dance around the main part and could accidentally hit the child.
I’ve made three crochet balls that are exactly the same size and shape. Two balls are made of beige and one with red yarn. You can make as many balls as you want and use yarn colors that are dear to your heart. 🙂
The balls are made in continuous rounds or also called in a spiral. Here is no need to join each round with a slip stitch, but crocheting around and around creating a spiral shape. This technique makes your rounds a little difficult to count, so I would recommend you to use a stitch marker to indicate your first stitch of each round, to keep track of your rounds.
I will start with a magic ring. If you are not familiar with the magic ring technique, jump to this video (HERE!) and learn how to do it. Not convinced this is your favorite way of start working in a round? Don’t worry, create a foundation chain of two chains and start in the second chain from your hook. Work all the sts from round 1 into that chain. Then continue with the pattern as you would normally do.
If you started with a magic ring, you know how life-changing the crochet technique this is. I was putting it away to learn how to do it for a very long time and if I am honest with you guys, it was not the easiest thing to figure out, but once you get a hang of it, you will use it everywhere.
Round 1: Work 1 sc into the MR. = 6 sts.
Round 2: Work 2 sc into each of next 6 sts. = 12 sts.
Round 3 – 5: Work 1 sc into each of next 12 sts. = 12 sts.
Round 6: Repeat sc2tog six times. = 6 sts.

Now cut the yarn, leave a long tail. Take a small amount of stuffing and start stuffing the ball.
When you are done, use a yarn needle and join all the remaining sts together. Weave in all the ends and cut the yarn tail.
3. Assembling
his is the last step to completing the project and in my opinion the most important one. We will start off by crocheting a simple cord, a chain, that will be later attached to the crochet ball.
Make sure all the parts are carefully assembled together and can’t be divided from the man part very easily. Please have in mind that the toy has to be kids friendly. Tell the presents that it’s very important, to check on the toy and the baby if all the parts are still in their place to prevent any accidents.
To make a cord; chain 18. Leave a long tail at the beginning and at the end of the chain.
Now attach one side of the cord to the crochet ball. The other tail has to go through the middle of the wooden ring first then attach it to the crochet ball.

Repeat all the steps for the other two crochet balls and you are done! 🙂
Disclaimer: The content you find (including crochet patterns) here on this website crobypatterns.com is a property of Croby Patterns. Do not modify, copy, sell or share as your own any parts of the website. For more information, read the TERMS OF USE page and FAQ. Thank you!
This post may contain affiliate links, view our disclosure policy for details.
Share your work with me on Instagram using the #crobypatterns. I can’t wait to see them!
2 comments
I made one of these for my baby cousin. Its so cute in her little hands. Just one thing I did differently I chained 18 before I closed up the ball or cut the yarn. Then I cut the yarn with a long tail and attached the chain 18 down and then I sewed up the hole. This way it’s made up of one part and can’t easily come apart.
Thank you again for another amazing pattern!!!
This is so cute i was just thinking about making a teething ring and I saw this post! I made one for my little cousin and she loves it! Just one thing I did differently, instead of making the chain 18 a separate piece after I made the ball b4 cutting a tail and sewing it together I chained 18. Then I left a long tail, sewed the chance 18 down and then closed up the whole all with the same strand of yarn so it’s not separate pieces and won’t come apart. Also I put a plastic rattle imsert in one of the balls to make it more exciting for her.
Thanks again for another amazing pattern. So easy to follow and quick to make!